
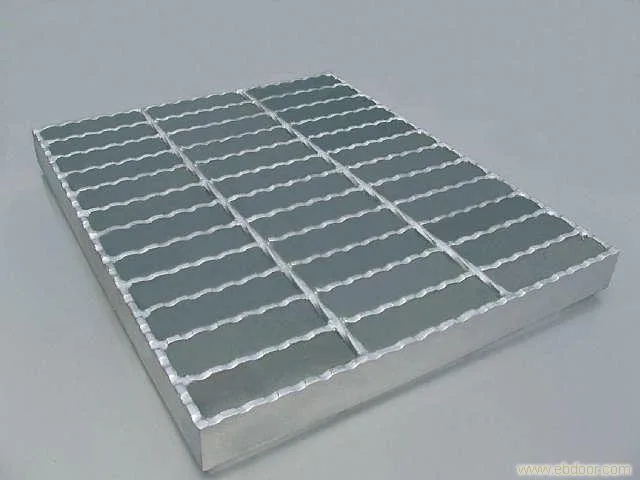
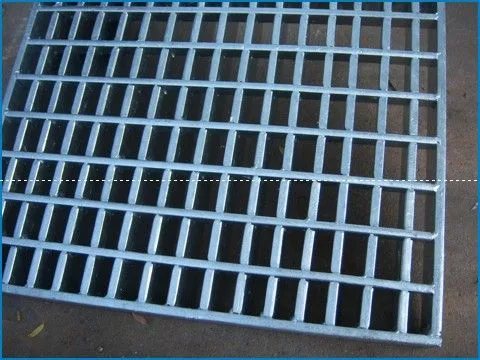
The application of ceiling galvanized steel grating in actual projects is not complicated; the difficulty lies in matching specifications, material and service environment. This article covers ceiling steel grating, ceiling steel grating construction and installation steps in turn; after reading, you will have a complete way of judging hot-dip galvanized steel grating.
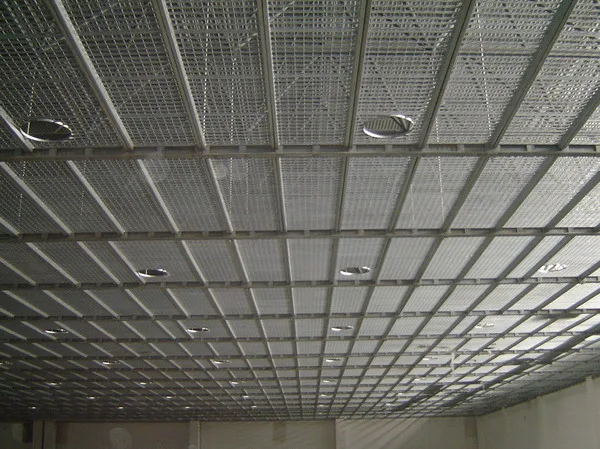
Ceiling steel grating
Additional key points are as follows:
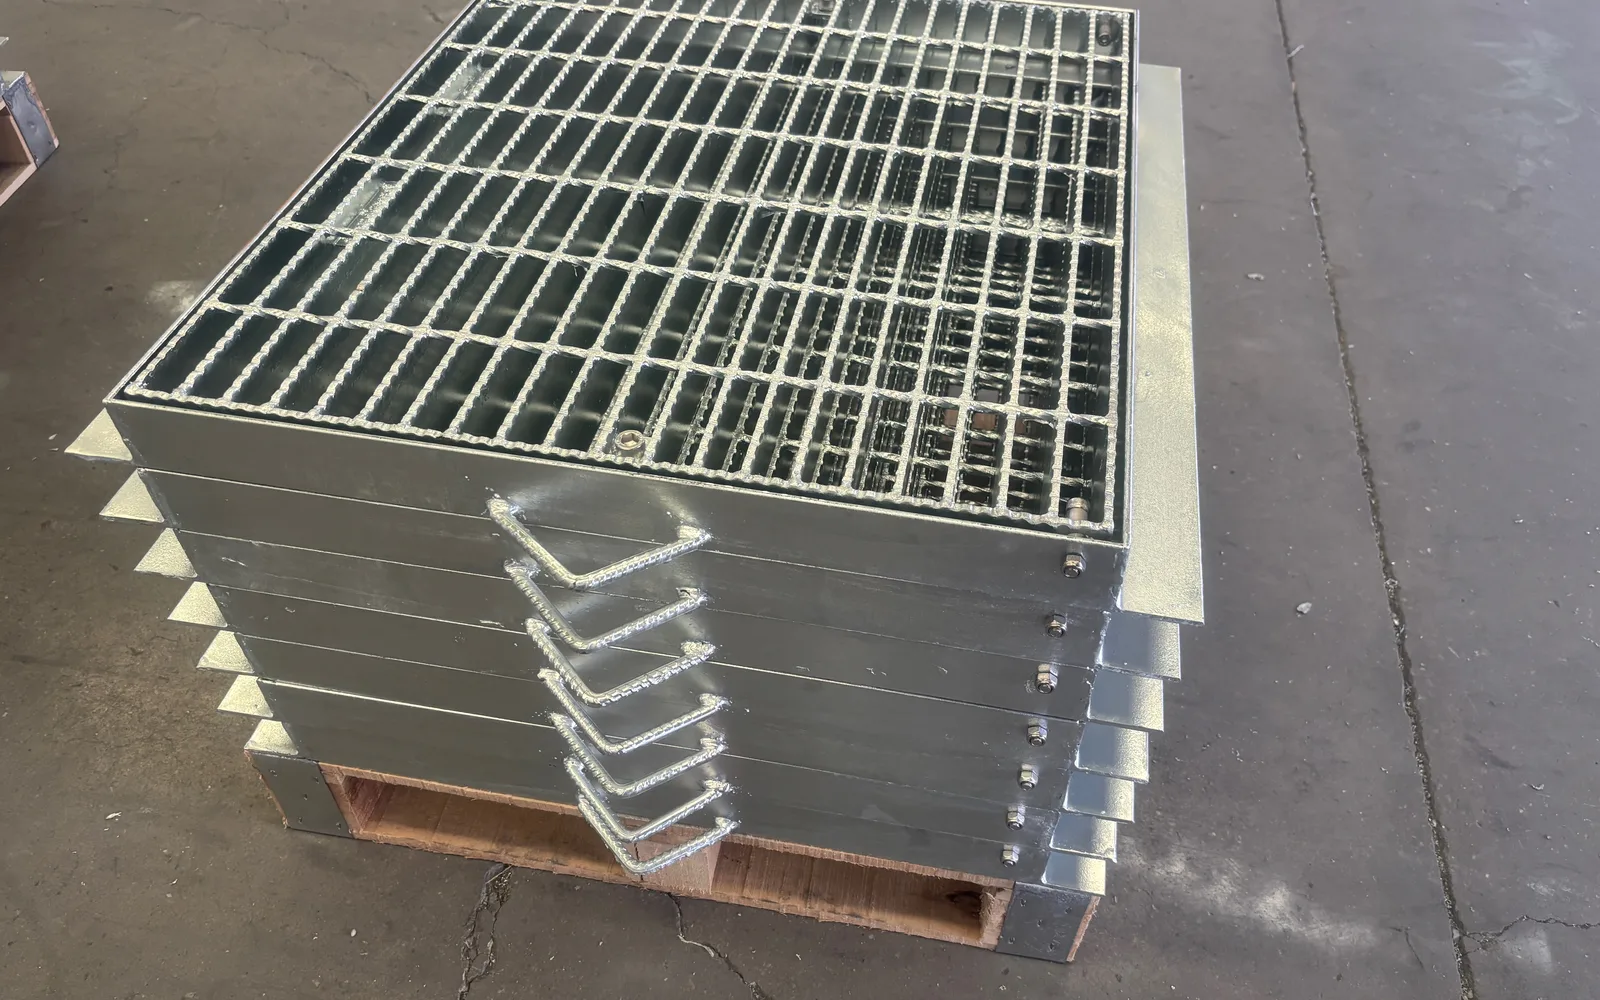
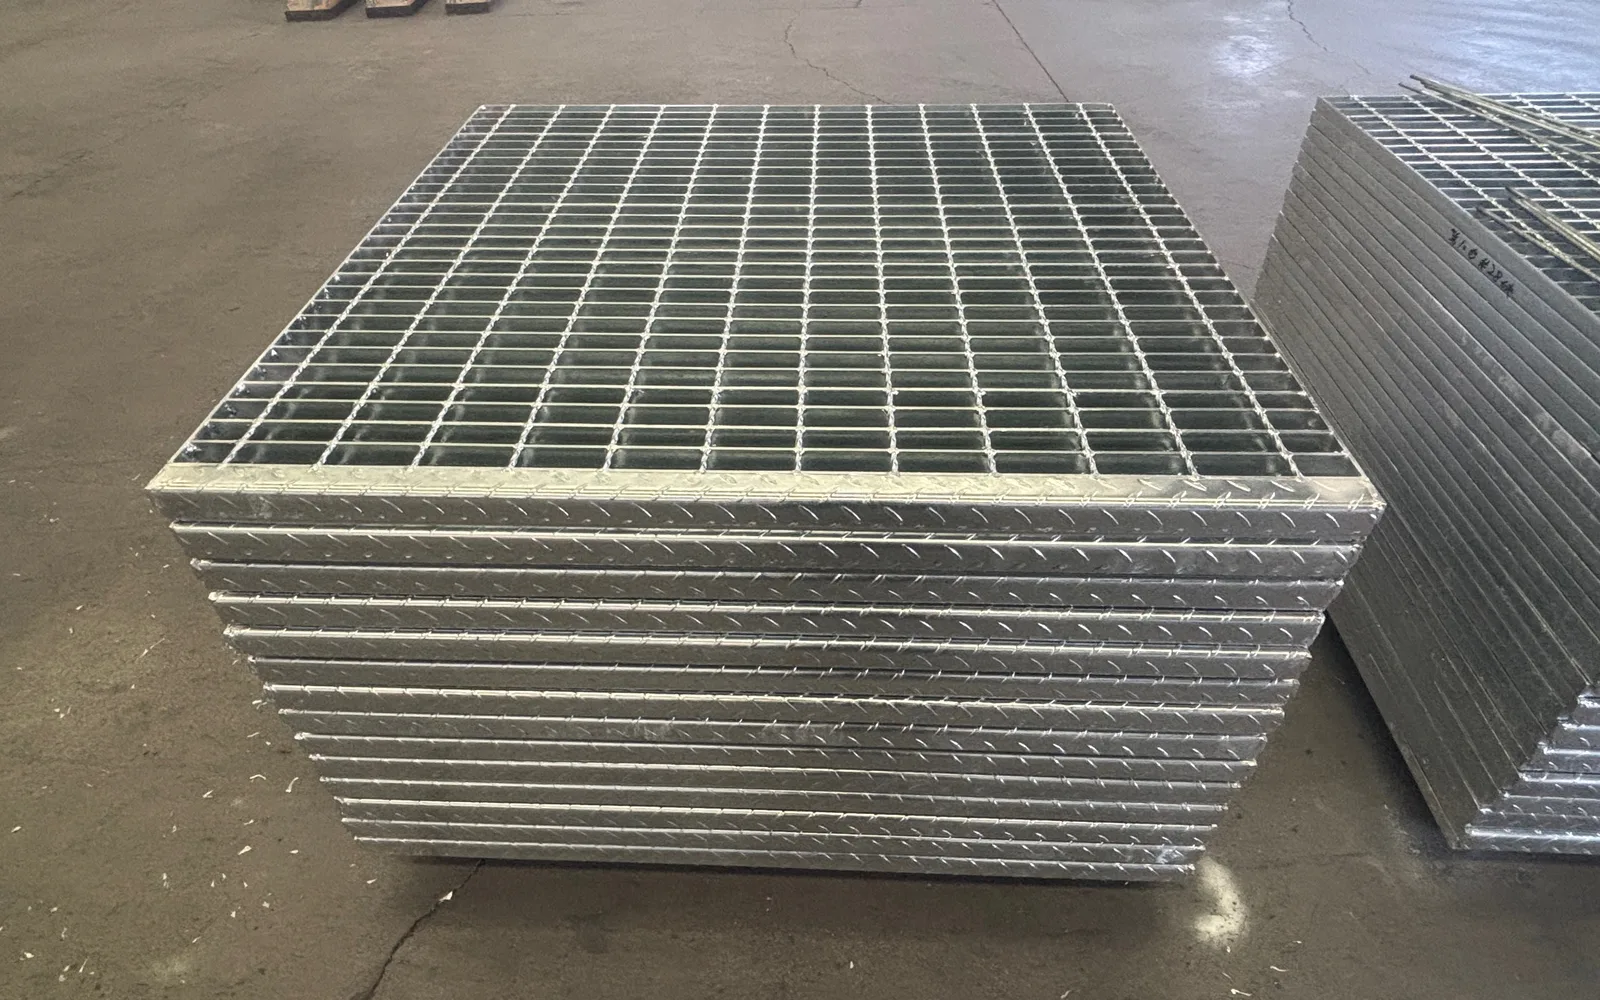
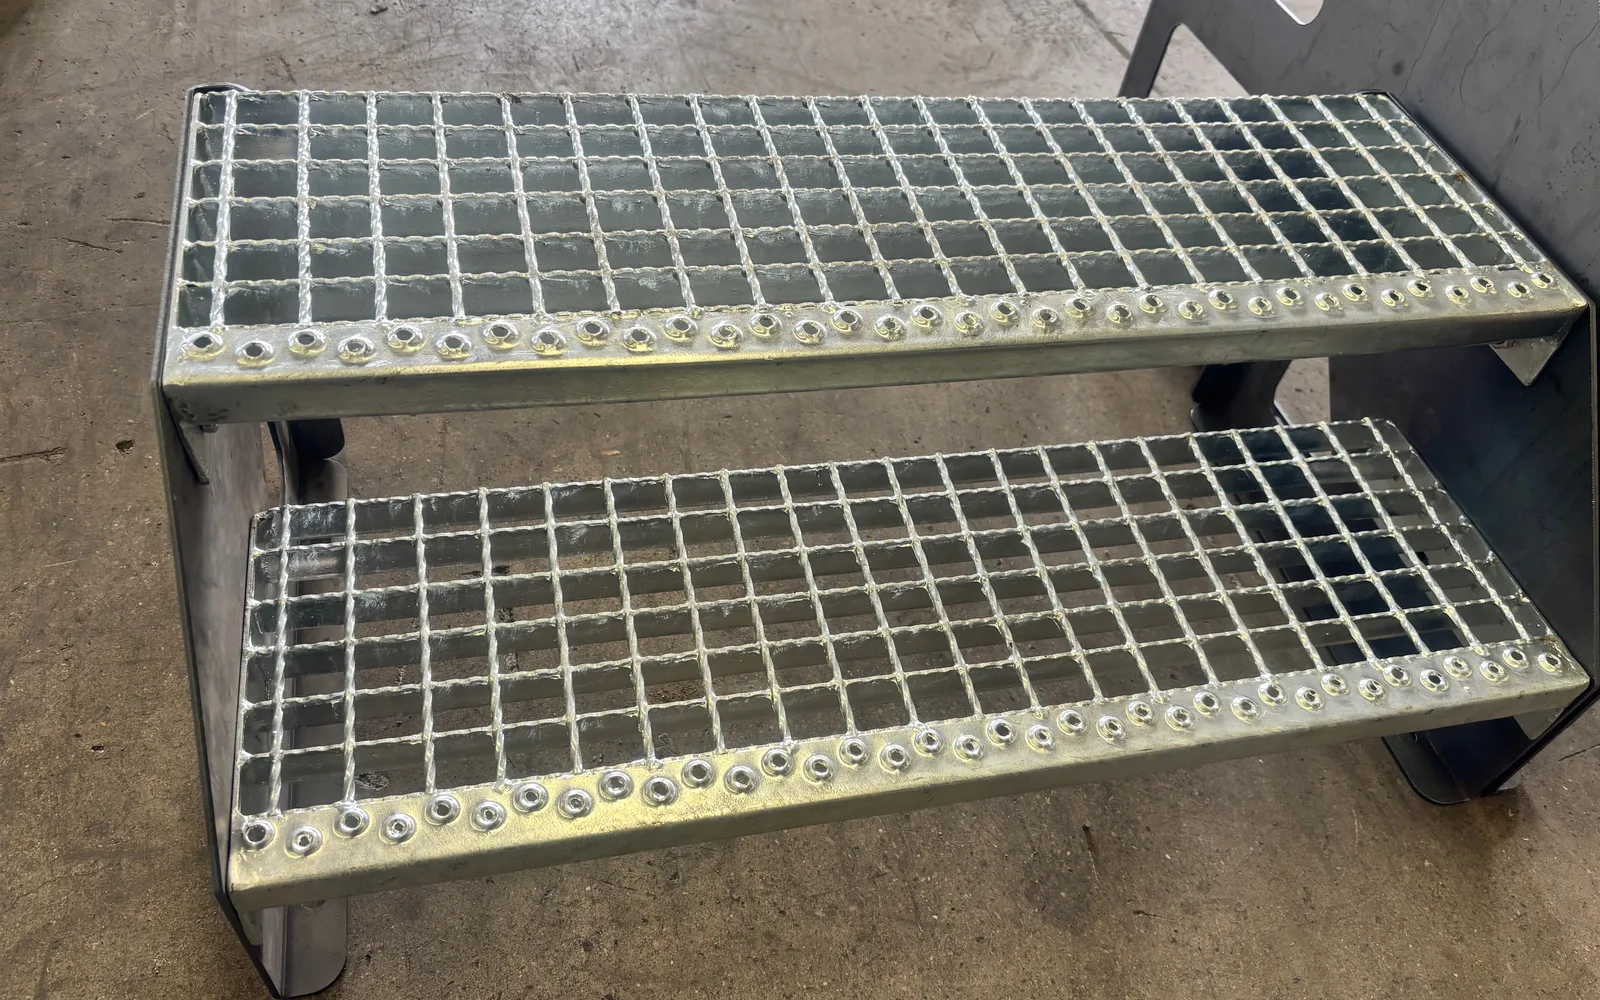
Ceiling steel grating is a ceiling product made of steel grating for interior decoration. As a ceiling product, its surface is hot-dip galvanized, remaining rust-free for 30 years and maintenance-free. Light in structure and easy to maintain, with an open view, ventilation and breathability, its clean, orderly lines and distinct layers embody a simple, modern style, making it a leading product in the decoration market in recent years.
The above points can serve as a pre-purchase checklist; confirm each item before moving to the quotation stage.
Regarding corrosion protection, one thing is easily overlooked: on-site cutting and welding damage the original coating, and these areas need zinc touch-up after construction, otherwise rust often starts from the cut edges. Galvanized grating has the same issue; it is best to include this in the technical requirements at the construction disclosure.
Ceiling steel grating construction
Key points for construction and fixing are as follows:
After installation, check each panel's fixing points and flatness; put into use only after confirming no warping or looseness.
After installation, a full inspection is recommended: panel warping, completeness of fasteners, obvious level differences between adjacent panels. Such issues with ceiling galvanized steel grating are cheapest to fix at acceptance; rework after commissioning is troublesome. Acceptance of galvanized grating can follow the same standard.
1 Installation steps
Key points for construction and fixing are as follows:
After installation, check each panel's fixing points and flatness; put into use only after confirming no warping or looseness.
For the installation sequence, lay out first, then fix; avoid changing while laying. Once the layout drawing of the ceiling galvanized steel grating is confirmed, avoid random cutting on site; if adjustment is really needed, the fixing and edging of the galvanized grating should be adjusted accordingly to avoid leaving loose hazards.
The specific installation sequence is: hanger rods → main keels → secondary keels → steel grating
On-site construction generally follows the steps and technical requirements below; complete the technical disclosure before starting work:
After installation, check each panel's fixing points and flatness; put into use only after confirming no warping or looseness.
Installation most affects later experience. When laying ceiling galvanized steel grating, the direction must not be reversed; the bearing bars should align with the main load direction - the point most easily overlooked on site. The number of fasteners must also be complete per the layout drawing; a missing one can cause local loosening. This requirement applies to galvanized grating as well.
2 Installation of hanger rods
Key points for construction and fixing are as follows:
After installation, check each panel's fixing points and flatness; put into use only after confirming no warping or looseness.
For the installation sequence, lay out first, then fix; avoid changing while laying. Once the layout drawing of the ceiling galvanized steel grating is confirmed, avoid random cutting on site; if adjustment is really needed, the fixing and edging of the hot-dip galvanized steel grating should be adjusted accordingly to avoid leaving loose hazards.
Lift the eye bolts and bow shackles to the platform by pulley and rope
Additional key points are as follows:
- Screw the eye bolts into the threaded holes of the lower-chord balls of the space frame and tighten, then fasten the eye bolts to the frame balls with M24 thin nuts.
- Lift the hanger rods pre-connected to the connectors to the operating platform by pulley and rope, then connect the rods to the eye bolts with bow shackles; after tightening the shackle nuts, insert cotter pins into the holes on the shaft and split their tails to both sides to prevent the nuts from falling off.
- Installation sequence. Start from one side and install cyclically toward the axis, two rows of hanger rods each time; mobile scaffolding is used.
The above points can serve as a pre-purchase checklist; confirm each item before moving to the quotation stage.
This part of ceiling galvanized steel grating may seem basic, but it is often the source of later disputes. Stating structural form, material and surface treatment clearly in communication is far more reliable than agreeing on a name only. The same breakdown applies to selecting hot-dip galvanized steel grating.
3 Installation of main keels
After the hanger rods are installed, the main keels follow. Place both ends of the main keel into the corresponding slots of the rod connectors, and fix the main keel to the connectors with M12×130 bolts
Installation most affects later experience. When laying ceiling galvanized steel grating, the direction must not be reversed; the bearing bars should align with the main load direction - the point most easily overlooked on site. The number of fasteners must also be complete per the layout drawing; a missing one can cause local loosening. This requirement applies to hot-dip galvanized steel grating as well.
4 Installation of secondary keels
The installation quality of ceiling galvanized steel grating largely depends on preparation: whether the support surface is level, whether the beam spacing matches the layout, whether the fasteners are prepared in advance. With these in place, installation itself is not complicated. If site cutting is needed, the cut treatment requirements for hot-dip galvanized steel grating should also be stated clearly.
While the main keels are being installed, the secondary keels follow simultaneously
(1) Installation of secondary keels adjoining the ends of the main keel. Place the secondary keel ends into the corresponding slots of the rod connectors and fix the secondary keels to the connectors with M12×110 bolts.
(2) Installation of secondary keels adjoining the middle of the main keel. Fix the connecting angle steels at both ends of the secondary keels (the face flush with the square tube facing down, or the face with the welded connecting plate facing up) to the corresponding holes of the main keel with 4 M12×110 bolts.
For the installation sequence, lay out first, then fix; avoid changing while laying. Once the layout drawing of the ceiling galvanized steel grating is confirmed, avoid random cutting on site; if adjustment is really needed, the fixing and edging of the hot-dip galvanized steel grating should be adjusted accordingly to avoid leaving loose hazards.
5 Installation of steel grating
Lay the steel grating across the secondary keels, spanning one secondary keel in the middle; the sides of the grating are flush with the top plane of the main keels; the ends of the grating are connected to the connectors on the secondary keels with bolts together with the adjacent panels; each panel is fixed with M10×30 bolts, then proceed in sequence.
The installation quality of ceiling galvanized steel grating largely depends on preparation: whether the support surface is level, whether the beam spacing matches the layout, whether the fasteners are prepared in advance. With these in place, installation itself is not complicated. If site cutting is needed, the cut treatment requirements for hot-dip galvanized steel grating should also be stated clearly.
6 Connection methods
(1) Connections in this project mainly use two methods: bolting and welding.
(2) Bolt diameter and length must be configured per the construction drawings and counted in detail; bolt lengths should be classified by the design drawing specifications and used correctly; after tightening the nut, at least 3 threads must protrude; control the horizontal elevation during installation.
Bigger specifications are not always better. The selection of ceiling galvanized steel grating should be as economical as possible while meeting load requirements; over-thickening increases self-weight and cost and complicates installation. The product page has a fuller comparison of hot-dip galvanized steel grating; refer to it before deciding.
7 Connection and installation of edging keels with middle columns, wall columns and steel grating
(1) Fixing of edging keels: fix the edging keels directly to the concrete ring beams with M16×150 expansion bolts at the elevations required by the drawings, with a fixing point every 3 m, then lay the main keels or secondary keels on the edging keels and fix them by tack welding.
(2) Fixing of steel grating to the middle columns and surrounding wall columns of the workshop: fix angle steel corbels to the relevant sides of the middle columns and surrounding wall columns with M16×150 expansion bolts, then fix the main keels, secondary keels or steel grating onto them 6
After installation, a full inspection is recommended: panel warping, completeness of fasteners, obvious level differences between adjacent panels. Such issues with ceiling galvanized steel grating are cheapest to fix at acceptance; rework after commissioning is troublesome. Acceptance of hot-dip galvanized steel grating can follow the same standard.
8 Leveling and tightening requirements
After the steel grating is installed, use measuring tools (such as a tape measure, string or level line) to mark the hanger rods and locate the grating elevation. Adjust the nuts at the lower ends of the rods to reach the required elevation.
Elevation requirements: use a level to adjust the flatness of the steel grating; the flatness requirement is ≤1 cm; finally tighten the two nuts below each hanger rod.
A practical tip for specification confirmation: write the bar size, bearing bar center pitch, cross bar pitch and overall dimensions together into the purchase list; specifying only one or two easily leads to mismatched deliveries. The specification labeling of ceiling galvanized steel grating is fully compared on the product page; number and check each panel against the layout drawing before ordering, and the same applies to hot-dip galvanized steel grating.
Further reading: Selection points for hot-dip galvanized steel grating and galvanized grating
Besides what this article covers, hot-dip galvanized steel grating is also common in actual projects. It shares similarities with this article's subject in structure and fabrication; for selection, check span, load and service environment in the same order. If both types of components are used in the same project, we recommend unifying material and surface treatment to avoid later galvanic corrosion or inconsistent appearance.
- For all product specifications and theoretical weights by series, visit Steel Grating Product Center
- To estimate cost by size and quantity, use Instant Quote PageSubmit Requirements
- To see how similar projects were executed, refer to Project Cases field applications
FAQ
What maintenance is required during daily use?
Maintenance mainly involves periodically checking whether fasteners are loose, whether touch-up paint has peeled off, and whether the panel surface shows obvious deformation or rust. Issues found should be dealt with promptly; overall maintenance is minimal.
Where can I find specific specifications?
our websiteProductsCommon specifications and theoretical weights are organized by series, also available in Instant Quote PageEstimate by size, or contact us directly for sizing advice.
Can the values in the article be applied directly?
Values in this article come from relevant standard clauses or common industry practice. For actual selection, recalculate based on site span, load class and service environment; direct copying is not recommended.
The above is for sizing and construction reference. To verify specific parameters or request a quotation, please visitInstant Quote Page, or contact our technical staff.
If you already have drawings or site dimensions, submit them directly and we will help verify specifications and layout, avoiding on-site cutting and rework caused by mismatched models. Without drawings, site photos and approximate dimensions are enough for an estimate.